By Tim Dolbear
www.timdolbear.com
www.timdolbear.com
Part 1, ...and so it begins!

The first thing we needed to do was strip the unit completely. I removed the deck from the rack or "furniture part" and then removed all the circuit boards and motherboard. I then removed the rack mounting system so I could cut new pieces to use to mount the rack rails to the 'Furniture'. I also removed the face plate from the deck to I could unscrew it from the rack rails, and also clean under the face plate.

In the picture you can see the white strips of wood which are the new pieces. The rack rails mount to this new wood and the entire part attaches to the square black frame, which then mounts into the furniture and is able to rotate allowing for access to the circuitry.

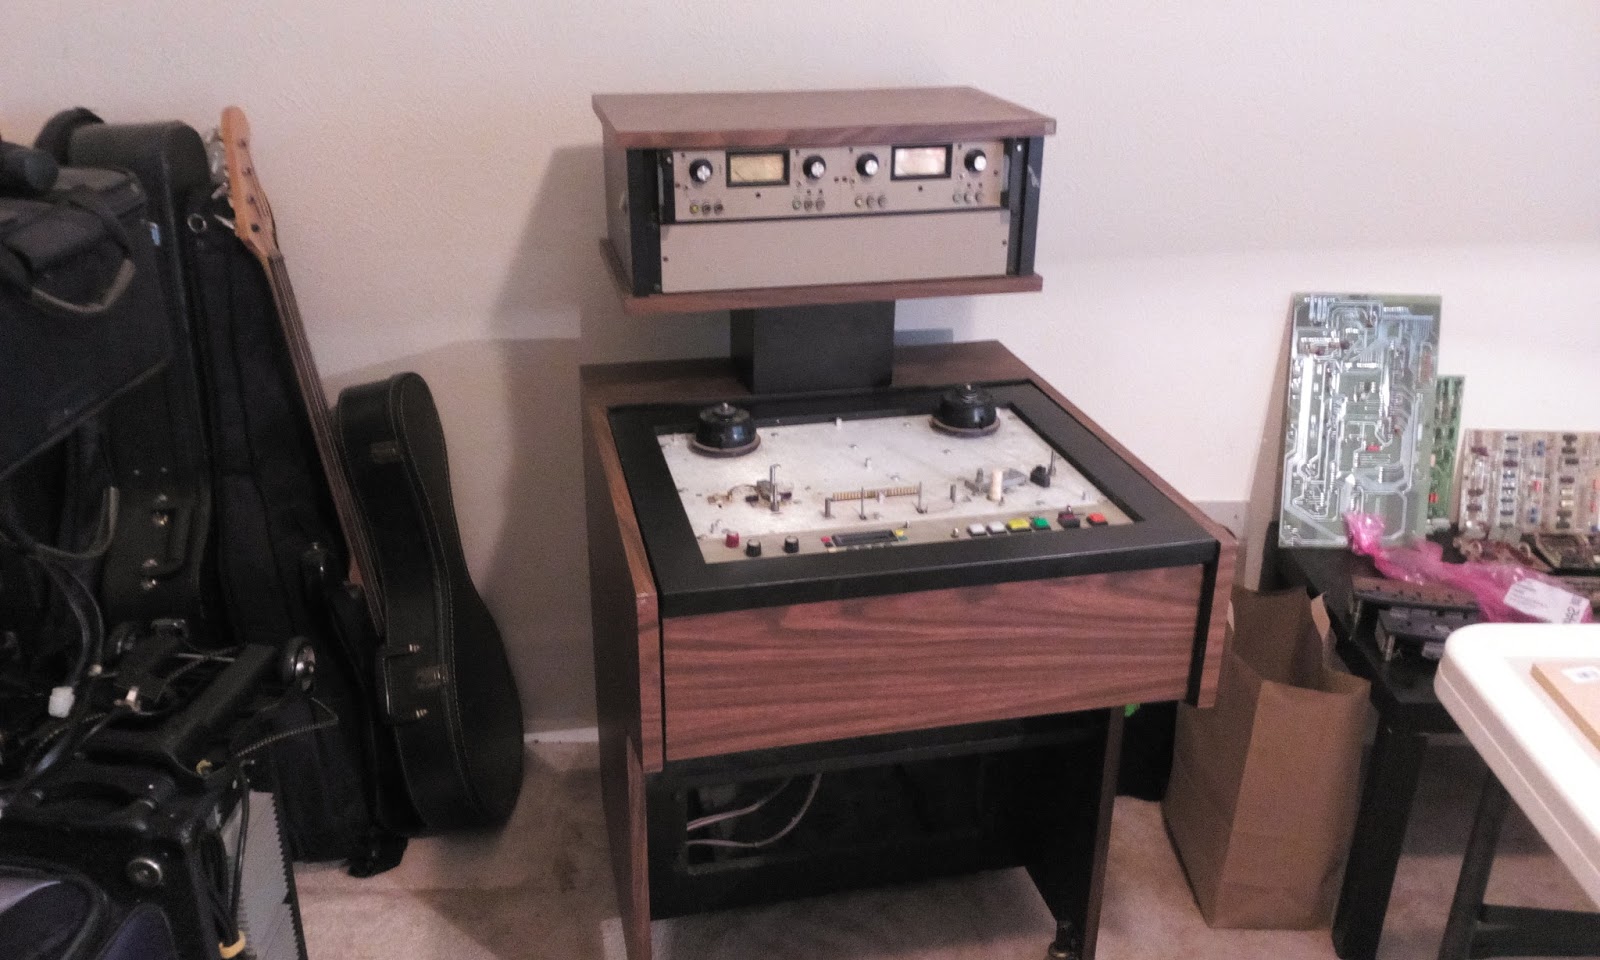
I also mounted the Penthouse or 4-space rack that houses the 2 channels of In/Out circuitry. Now it's looking like it supposed to...

And then I started on the electronics.
I thought "oh no, this is going to take forever! I have 50+ red IC sockets to replace!" But the next one took 3 minutes to remove and the rest took 2min to remove, clean the IC and replace.

 Here is a before and after of the first board done and the old sockets.
This week the head stack goes off for relapping, I swapped out the block, the black top of the assembly, so my good stack, which came with the JH110B had the nice block. I had bought a
head stack off of eBay simply for the nicer looking block. The heads are in almost perfect condition but JRF will optically align the head stack and if they feel they need relapping, they shall do that too. 